🧈 Homemade Butter 🧈
There’s something extra special about making your own butter! The process is slow, simple, and so grounding. It reminds me that the most nourishing foods don’t need to be complicated, just real, intentional, and made with love <3
Once you try homemade butter, it’s honestly hard to go back. It’s soft, creamy, rich, and full of flavor in a way store-bought butter rarely is. And the best part? You only need one ingredient, a little patience, and you also get fresh buttermilk to use in other recipes.
If you love from-scratch cooking, this is one of those recipes that feels like a small act of care for yourself and your family.
Why I Love Making Butter at Home
Making butter at home has become one of my favorite little kitchen rituals. It slows me down, connects me to my food, and makes everyday moments feel more special.
Here are a few reasons I love it:
• It’s incredibly simple
• You know exactly what’s in it
• It tastes so much better
• It’s a great way to introduce kids to cooking
• You also get fresh buttermilk (My favorite part! Nothing wasted!). I use buttermilk for pancakes recipes, to add to my coffee and homemade hot cocoa, and to eat with cereal.
• Another thing I also save from this recipe is the whipped cream. As soon as it starts forming -in the beginning of the process- I stop my mixer to save some of it in a glass container and use during the week in my coffee or hot cocoa. It’s so tasty and has no sugar in it! I’m obsessed lately!
✨This is such a fun activity to do with kids too. They love watching the cream transform, and it’s a beautiful way to involve them in real food and slow living✨
👩🍳 Homemade Butter Recipe:
Ingredients
• Your favorite organic heavy (whipping) cream (I use CLOVER SONOMA Organic Heavy Whipping Cream, it’s one of the only options out there with only 1 ingredient)
• Salt, to taste (optional)
Instructions
Add the cream to a stand mixer and beat on medium-high speed. (I use speed 6 on my KitchenAid.)
Keep whipping until the butter separates from the buttermilk.
This usually takes about 10–15 minutes. At first, it will turn into whipped cream, then it will look grainy, and finally the butter will separate.Strain the butter and reserve the buttermilk for other recipes like pancakes, muffins, or biscuits.
Add salt if desired and mix well.
Transfer the butter to a bowl with cold water and ice. Gently rinse and squeeze to remove any remaining buttermilk. This step helps your butter last longer. If you notice there’s still buttermilk coming out of the butter, repeat the process again by changing the water until there’s no more buttermilk coming out of it.
Shape the butter however you like, or place it directly into a butter container.
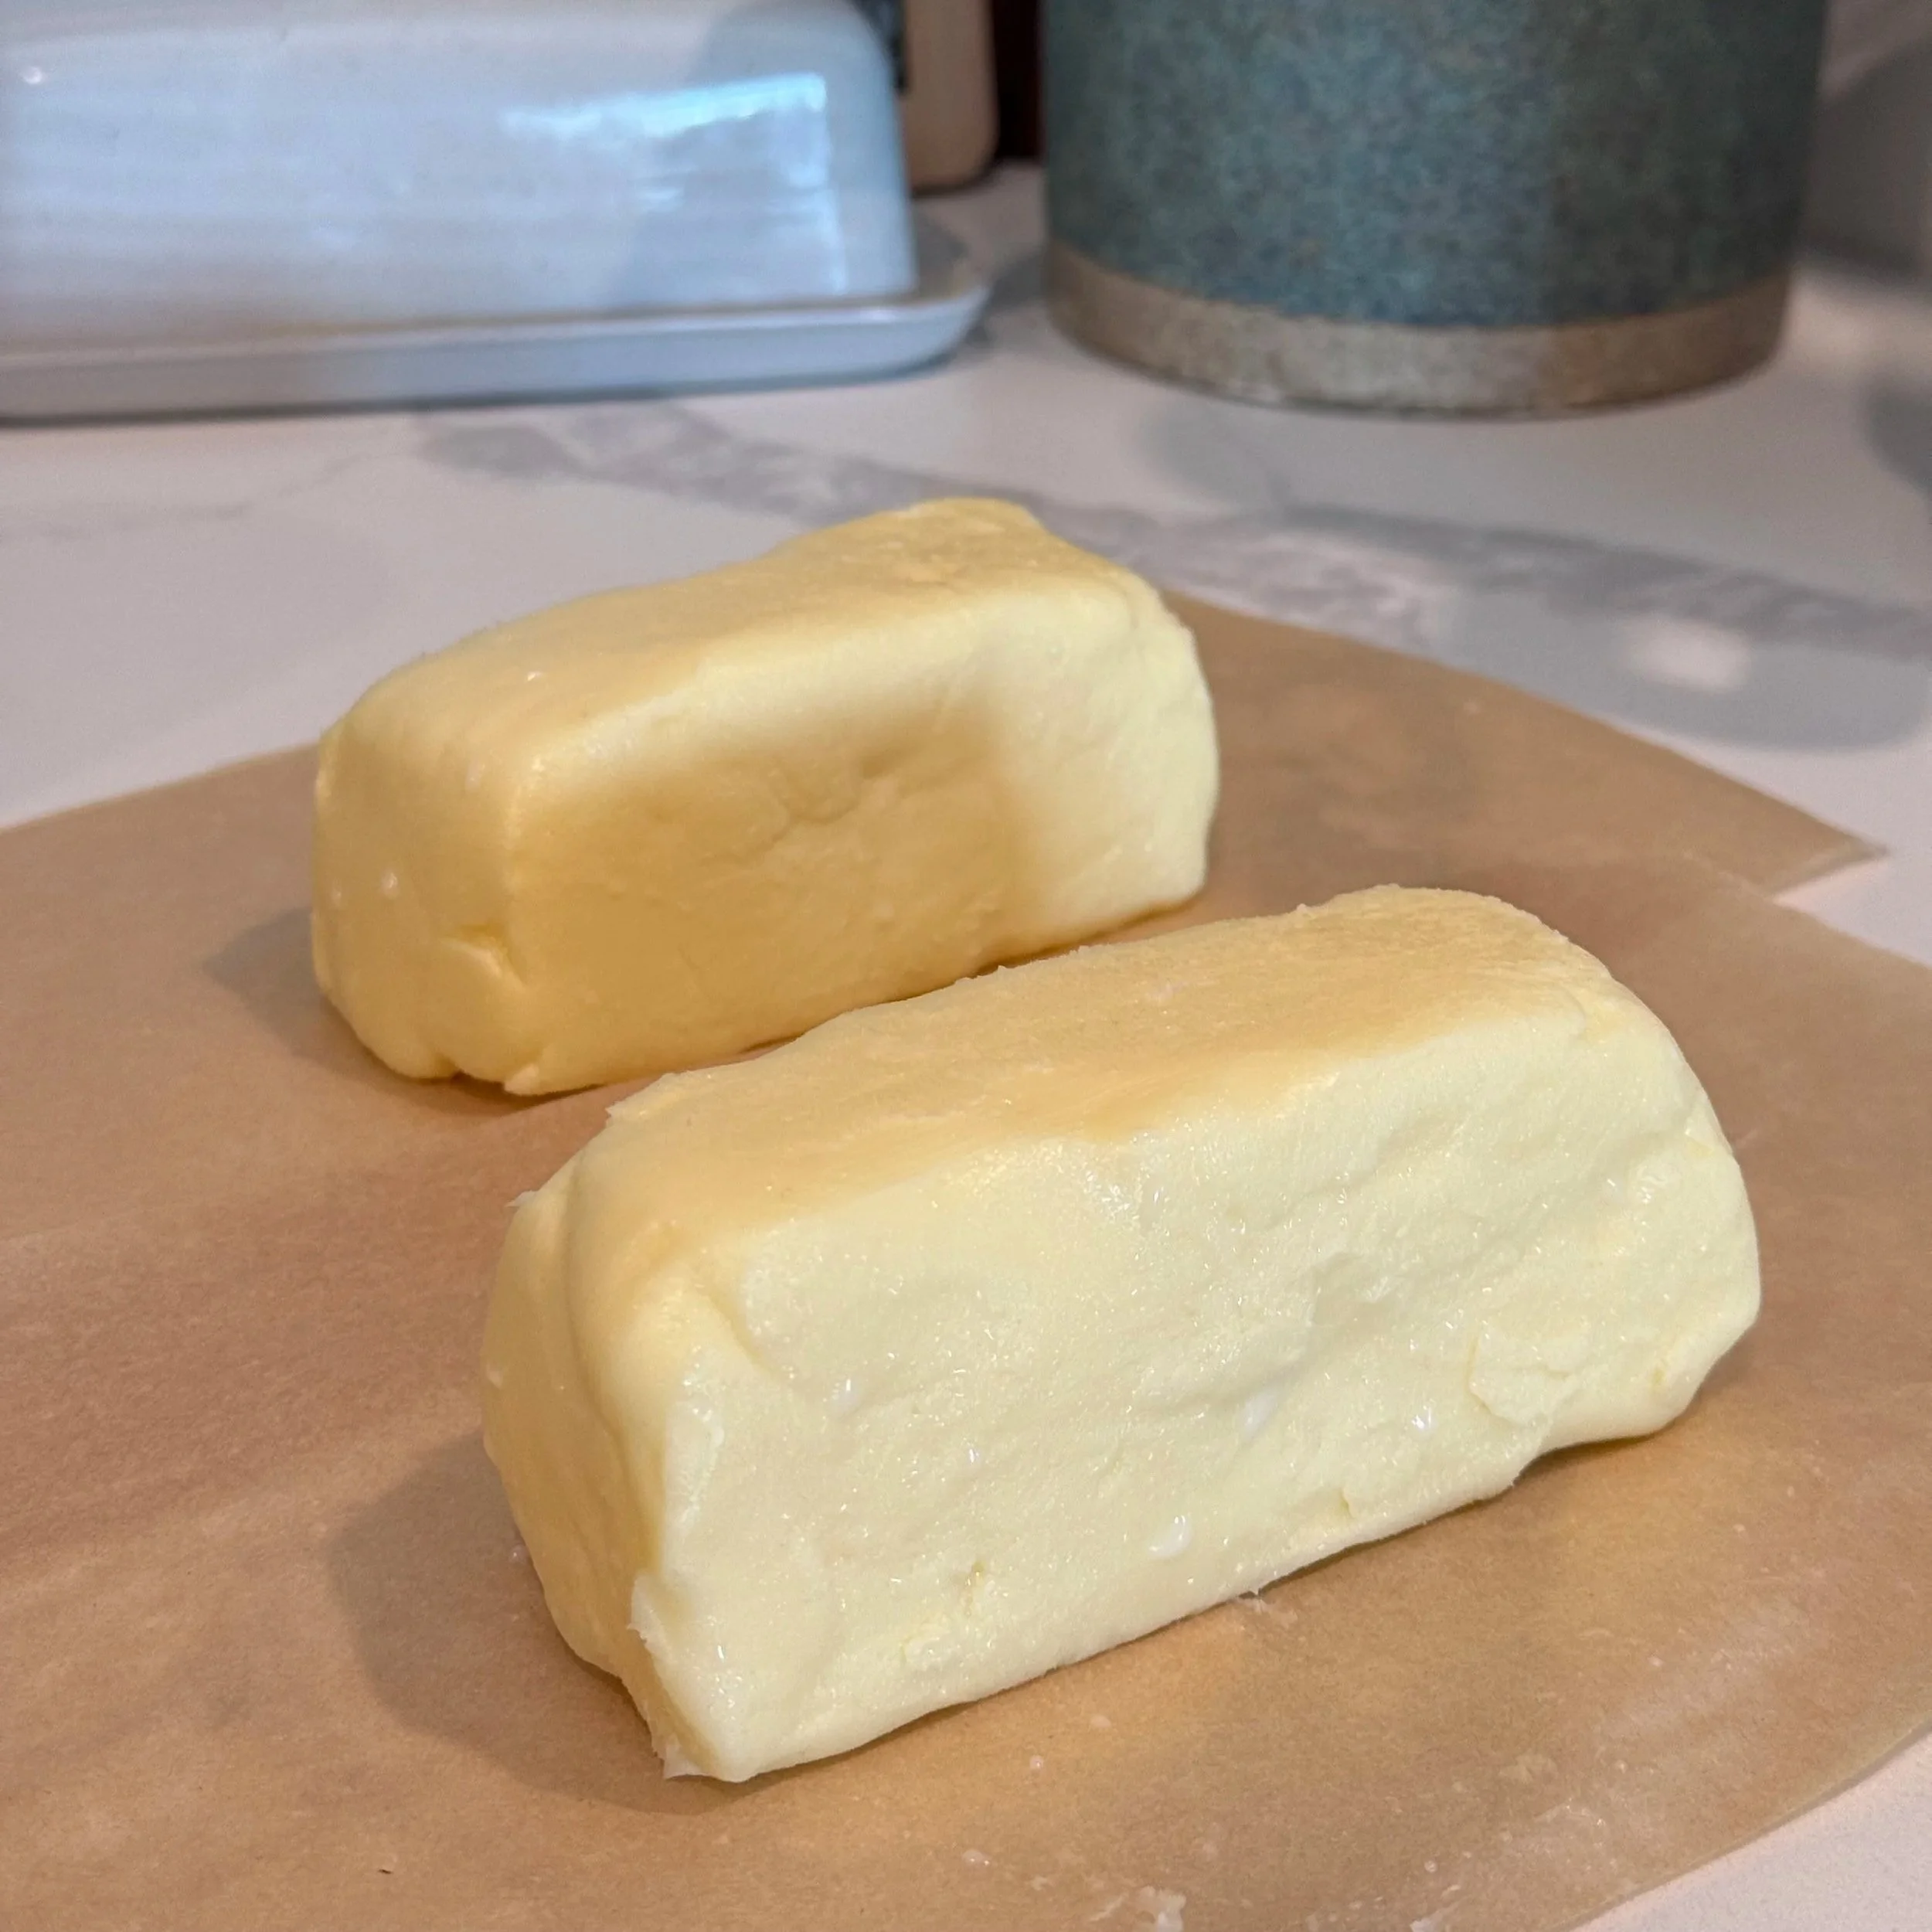
I shape mine into a stick and wrap it in unbleached parchment paper.Store it how you prefer - at room temperature for soft, spreadable butter or in the fridge for longer storage.
Enjoy your homemade, super tasty butter 🤍
🧈Tips for the Best Homemade Butter
• Use high-quality cream. The better the cream, the better the butter.
• If possible, choose organic or grass-fed for more nutrients and flavor.
• Don’t skip rinsing — this really improves shelf life.
• You can add herbs, garlic, or honey to create flavored butter.
• You can always make a bigger batch if your family goes through a lot of butter. I usually use 3 cartons of 8 oz cream. This way, I salt about 2/3 to eat during the week and keep 1/3 unsalted to use in recipes.
🥛What to Do With Fresh Buttermilk
One of my favorite parts of this recipe is that nothing goes to waste. Fresh buttermilk is mild, creamy, and perfect for:
• Pancakes and waffles
• Muffins and baked goods
• Marinades for chicken
• Biscuits
• Smoothies
• Add to your coffee or hot cocoa (check my homemade hot cocoa recipe here!)
You can store it in the fridge and use it within a few days. I go through mine during the week and by the end it still tastes fresh and good!
🫙My favorite tools
Some of the links in this post may be affiliate links. This means I may earn a small commission if you purchase through them, at no extra cost to you.
I only share products I truly use and love in my own kitchen. Bellow I’ll be linking a few of my favorite tools I use when making and storing homemade butter. Thank you so much for supporting my work!
Liter Glass Milk Bottles + Reusable Silicone Pour Spout Lid - I use these bottles so much!
3 Pack Stainless Steel Funnels
Dough Scraper - This kit also has a plastic option because it can be a little easier to shape the butter -because it’s more flexible- than the stainless steel option.
Unbleached Parchment Paper - if you want to storage it in the fridge.
And sharing again my 1 ingredient go-to: CLOVER SONOMA Organic Heavy Whipping Cream
✨A Little Reminder
Slow, simple food doesn’t have to be complicated or perfect. Sometimes it’s just about choosing one small thing you can make at home. These little shifts add up over time and help us create a more intentional, nourishing life.
If you try this recipe, I’d love to hear how it turns out for you! Feel free to comment below 🤍
Thank You for Being Here!
Thank you for being part of this space and for supporting my work. Whether you’re here for motherhood, yoga, or inspiration for slow living and from-scratch cooking, I’m so grateful you’re here.
My hope is that recipes like this homemade butter encourage you to slow down, reconnect with your food, and feel more confident creating simple, nourishing meals at home.
These small, homemade rituals can bring so much beauty and intention into everyday life, and I’m honored to be part of your journey toward a more natural and mindful lifestyle.
Because together, We Are UNO 🤍